Proper wine cooler installation is crucial for its longevity and optimal performance, involving key steps such as selecting the right location, ensuring proper ventilation, leveling the unit, and allowing it to acclimate for at least 24 hours before plugging it in. Following these guidelines prevents common issues like uneven cooling and premature compressor wear, ensuring your wine cooler operates efficiently for years.
Choosing the Ideal Location for Your Wine Cooler
The location of your wine cooler significantly impacts its efficiency. Avoid direct sunlight and heat sources like ovens or radiators. A cool, dry area with stable ambient temperatures between 50-80°F (10-27°C) is ideal. For built-in models, ensure there’s adequate clearance around the unit as specified by the manufacturer, typically 1-2 inches on the sides and back, and sufficient space for the door to open fully. Freestanding units require at least 5 inches of clearance from walls to allow for proper air circulation.
Ensuring Proper Ventilation and Electrical Connections
Ventilation is paramount, especially for compressor-based wine coolers. The condenser coils need to dissipate heat effectively. Never block the vents, whether they are at the front, back, or sides of the unit. For electrical connections, always use a dedicated, grounded outlet with the correct voltage and amperage as specified in your wine cooler’s manual. Avoid using extension cords, as they can pose a fire hazard and may not provide consistent power, potentially damaging the unit. It’s recommended to have a qualified electrician verify the outlet if you have any doubts.
Leveling the Unit and Acclimation Period
|
Our Picks for the Best Wine Cooler in 2026
As an Amazon Associate I earn from qualifying purchases.
|
||
| Num | Product | Action |
|---|---|---|
| 1 | Wine Enthusiast 6-Bottle Countertop Wine Cooler – Compact Mini Fridge for Kitchen or Bedroom with 3 Shelves, Energy-Efficient Cooling, Adjustable Digital Temperature Control |

|
| 2 | BLACK+DECKER Wine Cooler 8 Bottle,Wine Fridge Thermoelectric with Mirrored Front,Freestanding Wine Cooler Refrigerator &LED Display,BD60326 |
|
| 3 | Ivation Premium 6 Bottle Horizontal Thermoelectric Wine Cooler/Chiller Counter Top Red & White Wine Cellar w/Digital Temperature, Freestanding Refrigerator Quiet Operation Fridge |
|
| 4 | BLACK+DECKER Wine Fridge 12 Bottles, Thermoelectric Wine Cooler Refrigerator with Mirrored Front, Freestanding 12 Bottle Wine Fridge, BD60336 |
|
| 5 | Wine Enthusiast 32-Bottle Dual Zone MAX Compressor Wine Cooler – Freestanding Mini Fridge with Digital Touchscreen, LED Display, Split Storage for Red & White Wines, Matte Black Refrigerator Home Bar |
|
| 6 | Ivation Premium Stainless Steel 8 Bottle Horizontal Thermoelectric Wine Cooler/Chiller Counter Top Red & White Wine Cellar w/Digital Temperature, Freestanding Refrigerator Quiet Operation Fridge |
|
| 7 | BLACK+DECKER BD60026 Wine Cellar with LED Display (8-Bottle Capacity) |
|
| 8 | Ivation 12 Bottle Compressor Wine Cooler Refrigerator w/Lock, Large Freestanding Wine Cellar Fridge, 41f-64f Digital Temperature Control Glass Door Black |
|
| 9 | Cuisinart CWC-800CEN 8-Bottle Private Reserve Wine Cellar |
|
| 10 | Ivation 12 Bottle Red And White Wine Thermoelectric Wine Cooler/Chiller Counter Top Wine Cellar with Digital Temperature Display, Freestanding Refrigerator Smoked Glass Door Quiet Operation Fridge |
|
Once positioned, use a level to ensure the wine cooler is perfectly balanced. Most units come with adjustable leveling feet. An unlevel unit can cause the door to not seal properly, leading to temperature fluctuations and increased energy consumption. After leveling, it’s essential to let the wine cooler stand upright for at least 24 hours before plugging it in. This allows the compressor’s lubricants and refrigerants to settle, preventing damage when the unit starts up. This acclimation period is a critical step often overlooked.
- Verify all packaging materials are removed from inside and outside the unit.
- Clean the interior with a mild detergent and water before first use.
- Ensure the door gasket forms a tight seal all around the frame.
- Check that shelves are securely in place and can hold bottles without tipping.
- Read the owner’s manual thoroughly for model-specific instructions.
Initial Setup and Temperature Calibration
After the acclimation period, plug in your wine cooler. Set the desired temperature according to the type of wine you plan to store. For mixed collections, a common recommendation is 55°F (13°C). Allow the unit to run for several hours, or even a full day, to reach and stabilize at the set temperature before loading it with bottles. Use an external thermometer to verify the internal temperature accuracy. This initial calibration ensures your wines are stored under optimal conditions from the start.Consider investing in a smart wine cooler for easier temperature monitoring and control.
Frequently Asked Questions
How long should a wine cooler acclimate before plugging it in?
A wine cooler should acclimate for at least 24 hours before being plugged in. This allows the compressor's lubricants and refrigerants to settle, preventing potential damage when the unit starts up for the first time.
What is the ideal temperature range for a wine cooler's location?
The ideal ambient temperature range for a wine cooler's location is between 50-80u00b0F (10-27u00b0C). This helps the unit operate efficiently and prevents it from working too hard to maintain internal temperatures.
Why is proper ventilation important for a wine cooler?
Proper ventilation is crucial for wine coolers, especially compressor-based models, because the condenser coils need to dissipate heat effectively. Blocking vents can lead to overheating, reduced efficiency, and premature wear on the compressor.
Can I use an extension cord with my wine cooler?
No, you should never use an extension cord with your wine cooler. Extension cords can pose a fire hazard and may not provide consistent power, which could potentially damage the unit. Always use a dedicated, grounded outlet.
What temperature is recommended for storing a mixed collection of wine?
For a mixed collection of wine, a common recommendation for storage temperature is 55u00b0F (13u00b0C). This temperature is generally considered suitable for both red and white wines for long-term storage.
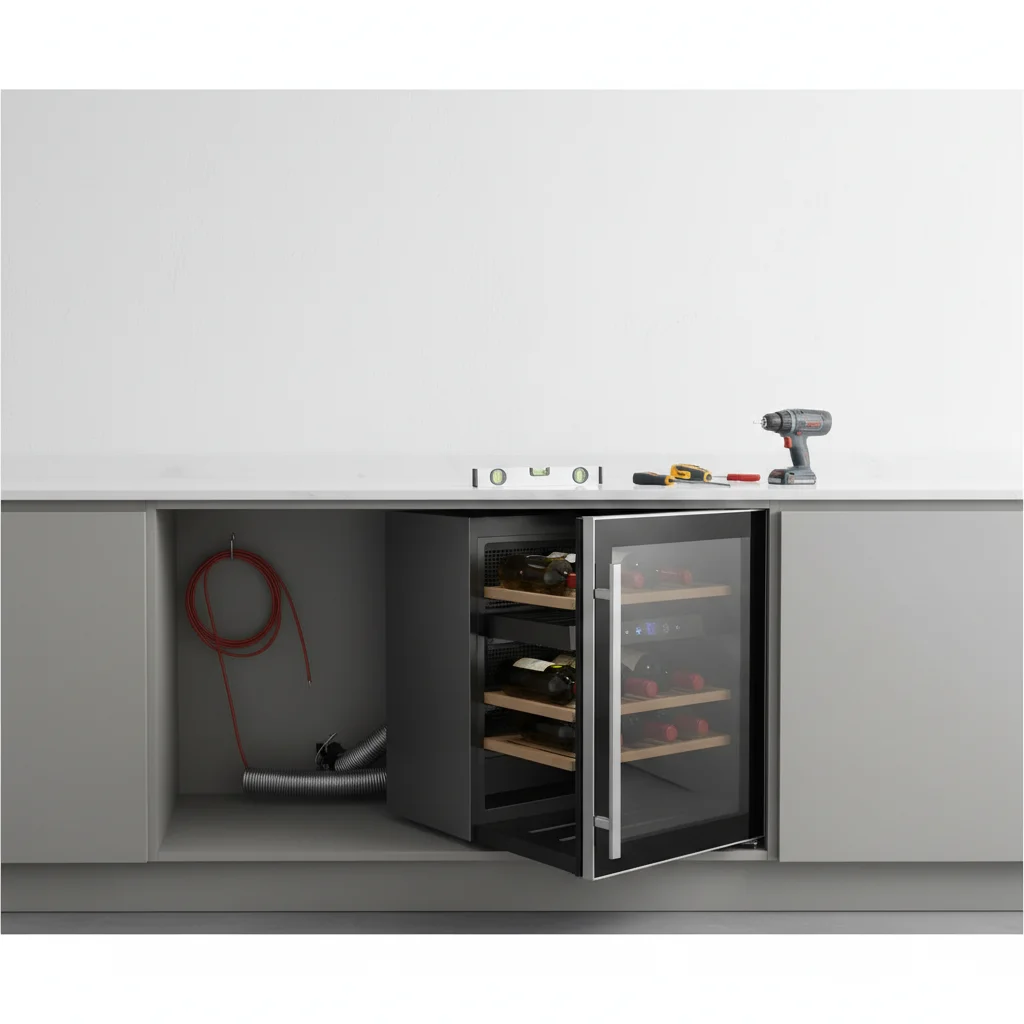
Install Your Wine Cooler for Optimal Performance
Follow these essential steps to properly install your wine cooler, ensuring its longevity and efficient operation for perfect wine storage.
Select a cool, dry area away from direct sunlight and heat sources, with stable ambient temperatures between 50-80u00b0F (10-27u00b0C). Ensure adequate clearance: 1-2 inches for built-in models and at least 5 inches for freestanding units.
Never block the unit's vents. Use a dedicated, grounded electrical outlet with the correct voltage and amperage as specified in the manual. Avoid using extension cords to prevent fire hazards and inconsistent power.
Use adjustable leveling feet to ensure the wine cooler is perfectly balanced, preventing door seal issues. Let the unit stand upright for at least 24 hours before plugging it in, allowing refrigerants to settle and preventing compressor damage.
After acclimation, plug in the cooler and set the desired temperature, typically 55u00b0F (13u00b0C) for mixed collections. Allow the unit to run for several hours to stabilize before loading bottles, verifying accuracy with an external thermometer.
Get our weekly buyer guide
Practical specs, not advice. Unsubscribe anytime.
I’m so glad I read this before setting up my new wine cooler! The tip about letting it acclimate for 24 hours before plugging it in was a game-changer. I never would have thought of that, and it makes total sense for preventing issues. My wines are chilling perfectly now, and I feel confident it’ll last a long time.
This was really helpful for my built-in unit. I was a bit worried about the ventilation, but the advice on ensuring 1-2 inches of clearance on the sides and back gave me clear guidance. It’s running quietly and keeping my reds at the ideal temperature. Definitely a good read for anyone installing a new cooler.
Excellent advice! I followed all the steps, especially choosing a cool, dry area with stable ambient temperatures, and my freestanding wine cooler is performing flawlessly. It’s great to know I’ve set it up correctly to avoid common issues like uneven cooling. My whites are perfectly crisp!
The information about avoiding direct sunlight and heat sources was useful, but I wish there was more detail on leveling the unit. My floor isn’t perfectly even, and I had to do a bit of trial and error to get it just right. It’s working fine now, but that step could have used a bit more explanation for beginners.