For optimal performance and longevity, you should clean your wine cooler’s condenser coils at least once every six months, or more frequently if your unit is in a dusty environment or has pets nearby. Neglecting this crucial maintenance task can lead to reduced cooling efficiency, increased energy consumption, and premature wear on the compressor.
Why Condenser Coil Cleaning is Essential
The condenser coils in your wine cooler are responsible for dissipating heat generated during the cooling process. Over time, dust, pet hair, and other debris accumulate on these coils, forming an insulating layer. This layer prevents efficient heat exchange, forcing the compressor to work harder and longer to maintain the desired temperature. This increased workload not only drives up your electricity bill but also shortens the lifespan of the compressor, which is often the most expensive component to replace. For more home wine guides on this site.
Regular cleaning ensures that your wine cooler operates at its peak efficiency, maintaining stable temperatures for your wine collection and preventing potential breakdowns. It’s a simple yet highly effective way to protect your investment and ensure your wines are stored under ideal conditions.
Tools and Materials for Coil Cleaning
Before you begin cleaning, gather the necessary tools to make the process smooth and effective. You’ll need a soft brush or a vacuum cleaner with a brush attachment to remove loose debris. A coil cleaning brush, specifically designed to reach into tight spaces between the fins, can be very helpful. Additionally, a screwdriver might be required to remove the back or front access panel of your wine cooler, depending on its design. Always ensure the unit is unplugged before starting any cleaning.
- Soft brush or vacuum with brush attachment
- Coil cleaning brush (optional, but recommended)
- Screwdriver (for panel removal)
- Flashlight (to inspect coils)
- Safety gloves (optional)
Step-by-Step Guide to Cleaning Condenser Coils
|
Our Picks for the Best Wine Cooler in 2026
As an Amazon Associate I earn from qualifying purchases.
|
||
| Num | Product | Action |
|---|---|---|
| 1 | Wine Enthusiast 32-Bottle Dual Zone MAX Compressor Wine Cooler – Freestanding Mini Fridge with Digital Touchscreen, LED Display, Split Storage for Red & White Wines, Matte Black Refrigerator Home Bar |

|
| 2 | Ivation Premium Stainless Steel 8 Bottle Horizontal Thermoelectric Wine Cooler/Chiller Counter Top Red & White Wine Cellar w/Digital Temperature, Freestanding Refrigerator Quiet Operation Fridge |
|
| 3 | Ivation 12 Bottle Compressor Wine Cooler Refrigerator w/Lock, Large Freestanding Wine Cellar Fridge, 41f-64f Digital Temperature Control Glass Door Black |
|
| 4 | Ivation Premium 6 Bottle Horizontal Thermoelectric Wine Cooler/Chiller Counter Top Red & White Wine Cellar w/Digital Temperature, Freestanding Refrigerator Quiet Operation Fridge |
|
| 5 | Wine Enthusiast 6-Bottle Countertop Wine Cooler – Compact Mini Fridge for Kitchen or Bedroom with 3 Shelves, Energy-Efficient Cooling, Adjustable Digital Temperature Control |
|
| 6 | BLACK+DECKER Wine Cooler 8 Bottle,Wine Fridge Thermoelectric with Mirrored Front,Freestanding Wine Cooler Refrigerator &LED Display,BD60326 |
|
| 7 | BLACK+DECKER Wine Fridge 12 Bottles, Thermoelectric Wine Cooler Refrigerator with Mirrored Front, Freestanding 12 Bottle Wine Fridge, BD60336 |
|
| 8 | BLACK+DECKER BD60026 Wine Cellar with LED Display (8-Bottle Capacity) |
|
| 9 | Cuisinart CWC-800CEN 8-Bottle Private Reserve Wine Cellar |
|
| 10 | Ivation 12 Bottle Red And White Wine Thermoelectric Wine Cooler/Chiller Counter Top Wine Cellar with Digital Temperature Display, Freestanding Refrigerator Smoked Glass Door Quiet Operation Fridge |
|
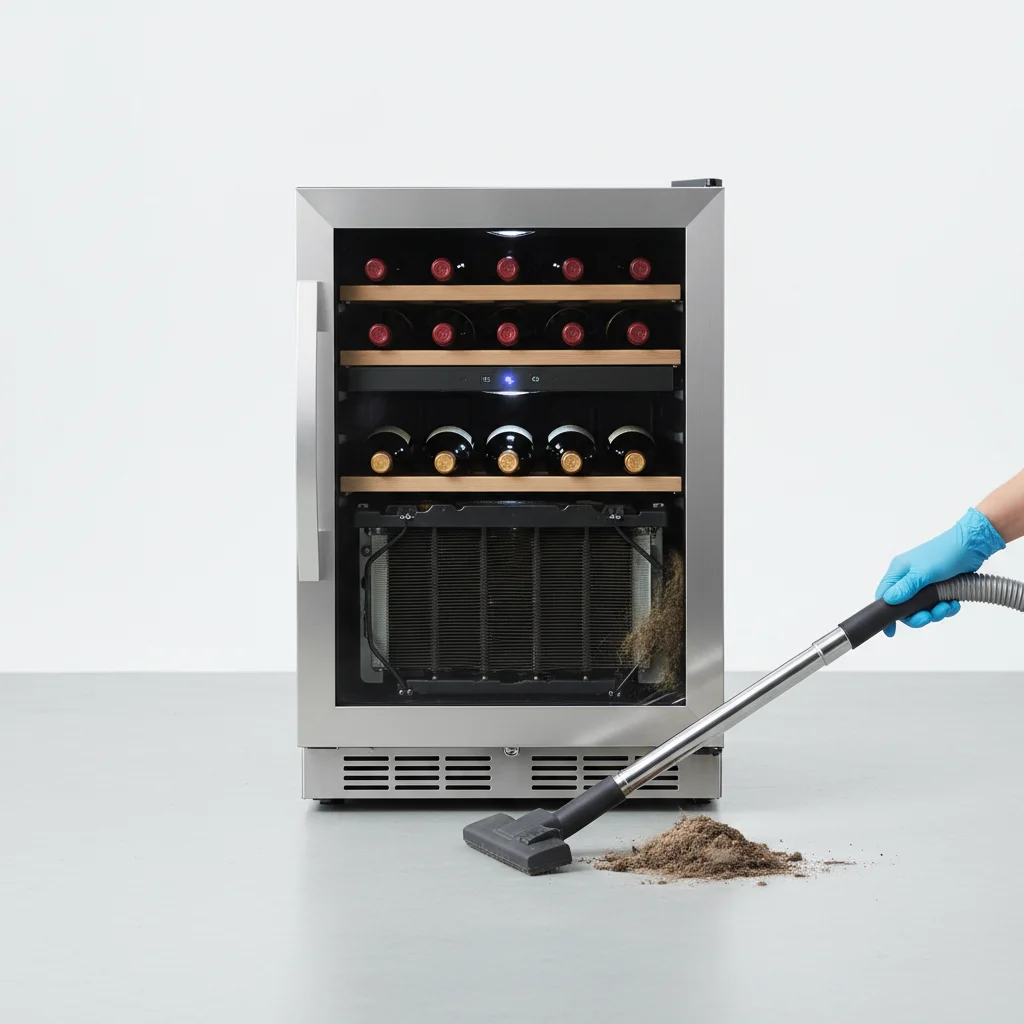
First, unplug your wine cooler from the power outlet to ensure safety. Locate the condenser coils, which are typically found at the back or bottom of the unit, behind a removable access panel. Use a screwdriver to carefully remove this panel. Once the coils are exposed, use your vacuum cleaner with a brush attachment to gently remove any loose dust and debris. For more stubborn grime or hard-to-reach areas, employ a coil cleaning brush to meticulously clean between the fins. Be careful not to bend the delicate fins during this process. After cleaning, replace the access panel and plug the unit back in.
Signs Your Coils Need Immediate Attention
Even if you’re adhering to a six-month cleaning schedule, certain signs indicate that your condenser coils might need immediate attention. If your wine cooler is running constantly, struggling to maintain its set temperature, or consuming more electricity than usual, dirty coils could be the culprit. Another tell-tale sign is if the back of the unit feels excessively hot to the touch. A visual inspection with a flashlight can also reveal a thick layer of dust and grime on the coils, signaling that it’s time for a thorough cleaning. Addressing these issues promptly can prevent more serious problems down the line.
Professional Maintenance vs. DIY Cleaning
While cleaning condenser coils is a relatively straightforward DIY task, there are instances where professional maintenance might be beneficial. If you’re uncomfortable with the process, or if your wine cooler is exhibiting more complex issues beyond just dirty coils, calling a qualified technician is advisable. Professionals can perform a more comprehensive inspection, identify underlying problems, and ensure all components are functioning correctly. However, for routine coil cleaning, most homeowners can easily manage it themselves with the right tools and a little care.
Get our weekly buyer guide
Practical specs, not advice. Unsubscribe anytime.
I’m so glad I read this! I’ve had my wine cooler for years and honestly never thought about cleaning the condenser coils. It makes total sense now why it’s been running a bit louder lately. I’m going to get on this right away, especially since I have a dog and there’s definitely pet hair around. Hopefully, it’ll bring down my electricity bill a bit too.
Fantastic advice! I’ve always been diligent about keeping my wine at the right temperature, but I admit I’ve overlooked the actual cooler’s upkeep. The explanation about dust forming an insulating layer and forcing the compressor to work harder was really clear. I’m definitely going to make sure my unit gets this crucial maintenance from now on to extend its lifespan.
I appreciate the info on how often to clean the coils. My wine cooler is in a pretty dusty spot in the basement, so I guess I should be doing it more frequently than every six months. My only complaint is that it didn’t really go into detail about *how* to clean them, just that I should. A quick step-by-step would have been useful.
This was a really helpful reminder. I usually clean my main fridge coils, but it never occurred to me that my wine cooler needed the same attention. The point about increased energy consumption really hit home. I’ve been noticing my unit working harder, so I’ll be adding this to my regular maintenance schedule every six months. Good to know it helps prevent premature wear on the compressor.