Replacing a wine cooler compressor involves several key steps that can be complex and are often best handled by a professional. However, if you’re a seasoned DIY enthusiast, understanding the process can help you decide if it’s a task you want to undertake. The main steps include safely discharging the refrigerant, removing the old compressor, installing the new one, evacuating the system, and finally, recharging it with the correct amount of refrigerant.
Diagnosing a Faulty Wine Cooler Compressor
Before attempting a replacement, it’s crucial to confirm that the compressor is indeed the problem. Common signs of a failing compressor include the wine cooler not cooling at all, making unusual loud noises, or the compressor running continuously without achieving the set temperature. You can also check the compressor’s electrical components, such as the start relay and overload protector, as these are often simpler fixes than a full compressor replacement. A multimeter can be used to test for continuity and proper resistance values.
Safety First: Discharging Refrigerant
Working with refrigerants requires extreme caution and specialized tools. Refrigerants are under pressure and can cause frostbite or other injuries if not handled properly. Furthermore, releasing refrigerants into the atmosphere is harmful to the environment and illegal in many places. A qualified technician will use a recovery machine to safely extract the refrigerant from the system before any components are disconnected. This step is non-negotiable for both safety and environmental compliance.
Removing the Old Compressor and Installing the New One
|
Our Picks for the Best Wine Cooler in 2026
As an Amazon Associate I earn from qualifying purchases.
|
||
| Num | Product | Action |
|---|---|---|
| 1 | Ivation 12 Bottle Compressor Wine Cooler Refrigerator w/Lock, Large Freestanding Wine Cellar Fridge, 41f-64f Digital Temperature Control Glass Door Black |

|
| 2 | BLACK+DECKER Wine Fridge 12 Bottles, Thermoelectric Wine Cooler Refrigerator with Mirrored Front, Freestanding 12 Bottle Wine Fridge, BD60336 |
|
| 3 | Ivation 12 Bottle Red And White Wine Thermoelectric Wine Cooler/Chiller Counter Top Wine Cellar with Digital Temperature Display, Freestanding Refrigerator Smoked Glass Door Quiet Operation Fridge |
|
| 4 | BLACK+DECKER BD60026 Wine Cellar with LED Display (8-Bottle Capacity) |
|
| 5 | BLACK+DECKER Wine Cooler 8 Bottle,Wine Fridge Thermoelectric with Mirrored Front,Freestanding Wine Cooler Refrigerator &LED Display,BD60326 |
|
| 6 | Wine Enthusiast 32-Bottle Dual Zone MAX Compressor Wine Cooler – Freestanding Mini Fridge with Digital Touchscreen, LED Display, Split Storage for Red & White Wines, Matte Black Refrigerator Home Bar |
|
| 7 | Ivation Premium 6 Bottle Horizontal Thermoelectric Wine Cooler/Chiller Counter Top Red & White Wine Cellar w/Digital Temperature, Freestanding Refrigerator Quiet Operation Fridge |
|
| 8 | Cuisinart CWC-800CEN 8-Bottle Private Reserve Wine Cellar |
|
| 9 | Ivation Premium Stainless Steel 8 Bottle Horizontal Thermoelectric Wine Cooler/Chiller Counter Top Red & White Wine Cellar w/Digital Temperature, Freestanding Refrigerator Quiet Operation Fridge |
|
| 10 | Wine Enthusiast 6-Bottle Countertop Wine Cooler – Compact Mini Fridge for Kitchen or Bedroom with 3 Shelves, Energy-Efficient Cooling, Adjustable Digital Temperature Control |
|
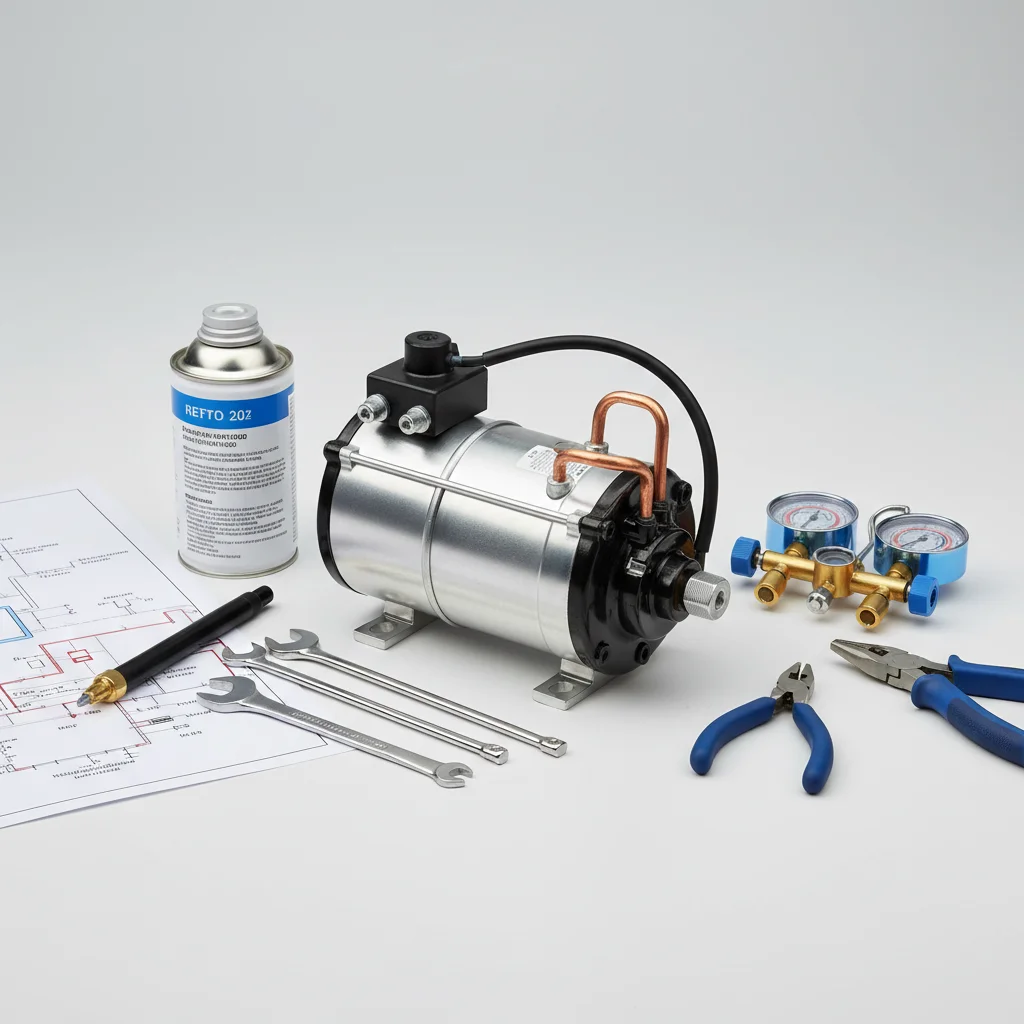
Once the refrigerant is safely discharged, you can begin the physical replacement. This involves carefully desoldering the old compressor from the refrigeration lines. It’s important to use a proper brazing torch and ensure the area is well-ventilated. After the old compressor is removed, the new compressor can be positioned and brazed into place, ensuring all connections are airtight. It’s critical to use the correct type and size of compressor for your specific wine cooler model to ensure optimal performance and longevity.
- Safely discharge all refrigerant from the system.
- Carefully desolder the old compressor from the refrigeration lines.
- Position and braze the new compressor, ensuring airtight seals.
- Evacuate the system to remove moisture and non-condensable gases.
- Recharge the system with the precise amount of new refrigerant.
Evacuation and Recharging the System
After the new compressor is installed, the system must be evacuated using a vacuum pump. This process removes all moisture and non-condensable gases from the refrigeration lines, which can severely impair the system’s efficiency and lifespan if left unchecked. A deep vacuum should be held for a sufficient period to ensure thorough drying. Finally, the system is recharged with the exact amount and type of refrigerant specified by the wine cooler manufacturer. Over or undercharging can lead to poor cooling performance and potential damage to the compressor.Always refer to your wine cooler’s service manual for specific refrigerant types and charge amounts.
Get our weekly buyer guide
Practical specs, not advice. Unsubscribe anytime.